
You’ve got your beloved Orchids growing, maybe even blooming. But if you’re ready to move past just keeping them alive and see them truly thrive, you’re in the right place. These captivating beauties have unique needs as aerial plants, and understanding them is key to unlocking their full potential and encouraging those stunning blooms.
Let’s dive deeper into advanced care that will help your exotic beauties flourish like never before.
Master the Art of Watering (and Not Overwatering!)
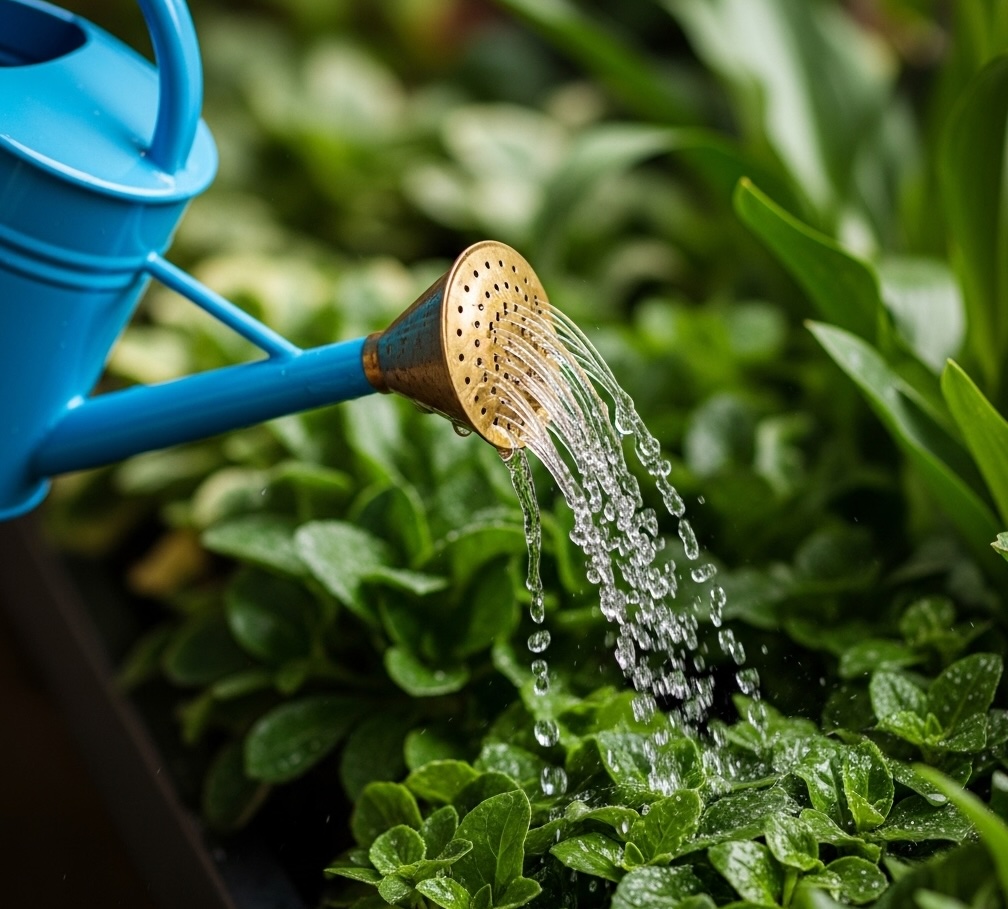
Watering is often the trickiest part of orchid care. Their roots, designed for quick moisture absorption and efficient drying in nature, demand a precise approach.
- Orchid Media Matters: The type of potting media heavily influences watering frequency. Bark mixes dry out faster than sphagnum moss, which retains moisture for a longer period. Therefore, if your orchid is in bark, you might need to water it every 5-7 days; in contrast, when it’s in moss, it could be every 10-14 days before you need to water again. Always check the media’s moisture level regularly; it should feel almost dry before you decide to water again to prevent overwatering, which can harm your orchid’s roots and overall health. It’s essential to approach watering with care and awareness to promote robust growth and blooming.
- The “Soak and Drain” Method: A popular and effective method is to soak your orchid pot in room-temperature water for 10-15 minutes, allowing roots and media to fully rehydrate. This soaking process ensures that both the roots and the growing media absorb the water thoroughly, which is crucial for the health of your orchid. After the 10-15 minutes have passed, carefully lift the pot and allow it to drain completely before returning it to its designated spot. It’s essential to ensure that no excess water remains at the bottom of the pot. Never let an orchid sit in standing water, as this can lead to root rot and other issues that may harm the plant.
- Humidity is Key: Orchids thrive in high humidity. While misting helps temporarily to increase moisture levels, a pebble tray (a shallow tray filled with pebbles and water, with the pot sitting above the water and not touching it directly) or an electric humidifier provides more consistent and reliable benefits. These methods reduce watering frequency slightly and create an ideal growing environment, promoting healthier aerial roots and enhancing overall plant vigor and resilience. Maintaining high humidity levels also diminishes the chances of pests and diseases, which can be detrimental to orchid health.
Fueling the Bloom: Fertilization Techniques for Orchids
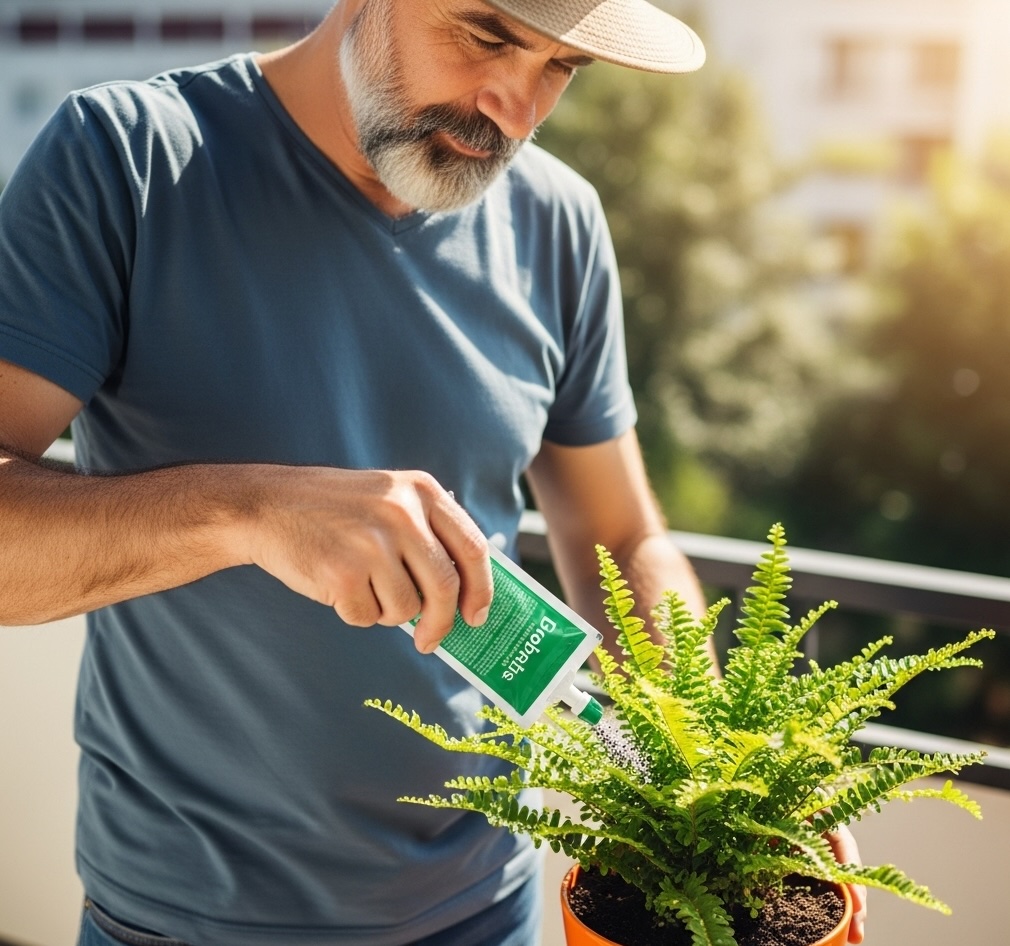
Like all living things, orchids need nutrients to grow and bloom, but their needs are specific, and over-fertilizing can be detrimental.
- “Weakly, Weekly” is the Golden Rule: Use a highly diluted fertilizer solution (often 1/4 to 1/2 strength of the recommended dosage) every time you water, or at least every other watering, during their active growing season. This consistent feeding regimen ensures that your plants receive the essential nutrients they require in a manageable manner, preventing the risk of nutrient burn, which can occur from strong concentrations. Additionally, by diluting the fertilizer and applying it regularly, you promote more robust growth and a healthier root system overall, leading to vibrant foliage and possibly more abundant blooms or fruit.
- Balanced Fertilizer: A balanced fertilizer (e.g., 20-20-20) is good for general growth and provides essential nutrients that plants need to thrive. For promoting blooms and enhancing flowering, you might opt for a “bloom booster” fertilizer with a slightly higher phosphorus content (the middle number in the NPK ratio, e.g., 10-30-20). This type of fertilizer can lead to more vibrant flowers and improved fruiting conditions, contributing positively to the overall health and aesthetics of your garden.
- Flush Regularly: Once a month or so, flush the pot with plain water to effectively prevent salt buildup from fertilizers, which can burn sensitive orchid roots and hinder their overall growth. This simple yet crucial step in the care routine ensures that the orchids remain healthy and can thrive in their environment, promoting vibrant and continued blooming.
- Don’t Fertilize Dormant Plants: If your orchid enters a dormant period (often after blooming, when growth slows significantly and it seems to take a break from its active growth phase), it is crucial to reduce or stop fertilizing altogether to avoid stressing it unnecessarily. Fertilizing during dormancy can lead to nutrient buildup in the soil, which can be detrimental to the health of your plant and may hinder its recovery and vigor once it resumes its growth cycle.
What’s your go-to fertilizer routine for your orchids? Have you noticed a difference when you use a “bloom booster”?
Repotting for Optimal Health
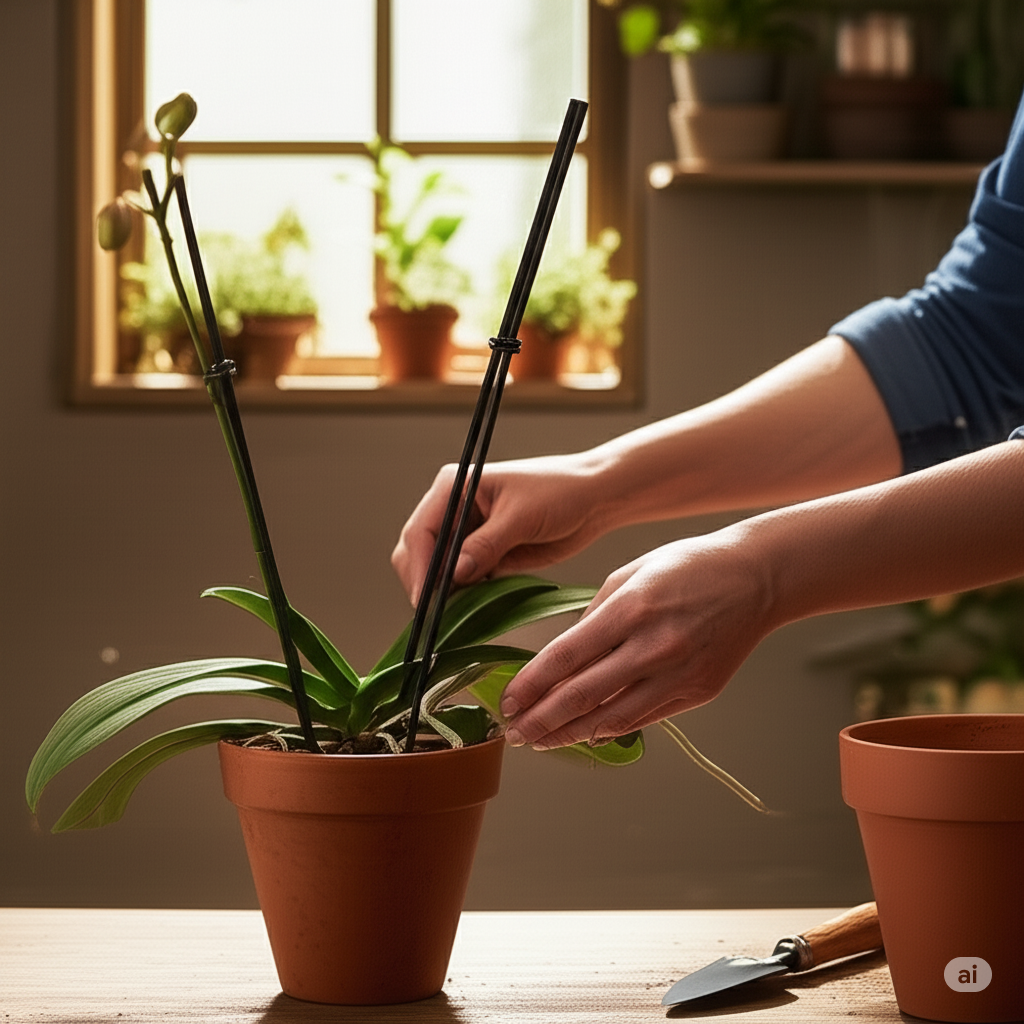
Orchids typically need repotting more frequently than many other houseplants, not necessarily for size, but for media freshness.
- When to Repot: Repot every 1-2 years, or when the potting media starts to break down significantly (signs include a sour smell that suggests decay, mushy media that indicates over-saturation, or shriveled roots despite adequate watering, which can be a warning sign that the plant is not receiving the nutrients it needs to thrive).
- Fresh Orchid-Specific Media: Always use fresh orchid-specific potting mix (bark, sphagnum moss, charcoal, perlite, or a blend) to provide the best environment for your orchids. Ensure that the mix is well-aerated and allows for proper drainage; this is crucial for their healthy growth. Never use regular potting soil; it will suffocate their roots, leading to poor plant health and increased vulnerability to disease.
- Pot Size: When repotting, choose a pot that’s only slightly larger than the previous one, or even the same size if you’re just refreshing the media. Orchids prefer to be snug and comfortable, as they thrive best in conditions where their roots are not overly spacious. Providing just enough room allows for better moisture retention and air circulation around the roots, ultimately leading to healthier growth. Make sure to assess whether the orchid’s current pot is truly inadequate before making any changes, as this can prevent unnecessary stress to the plant.
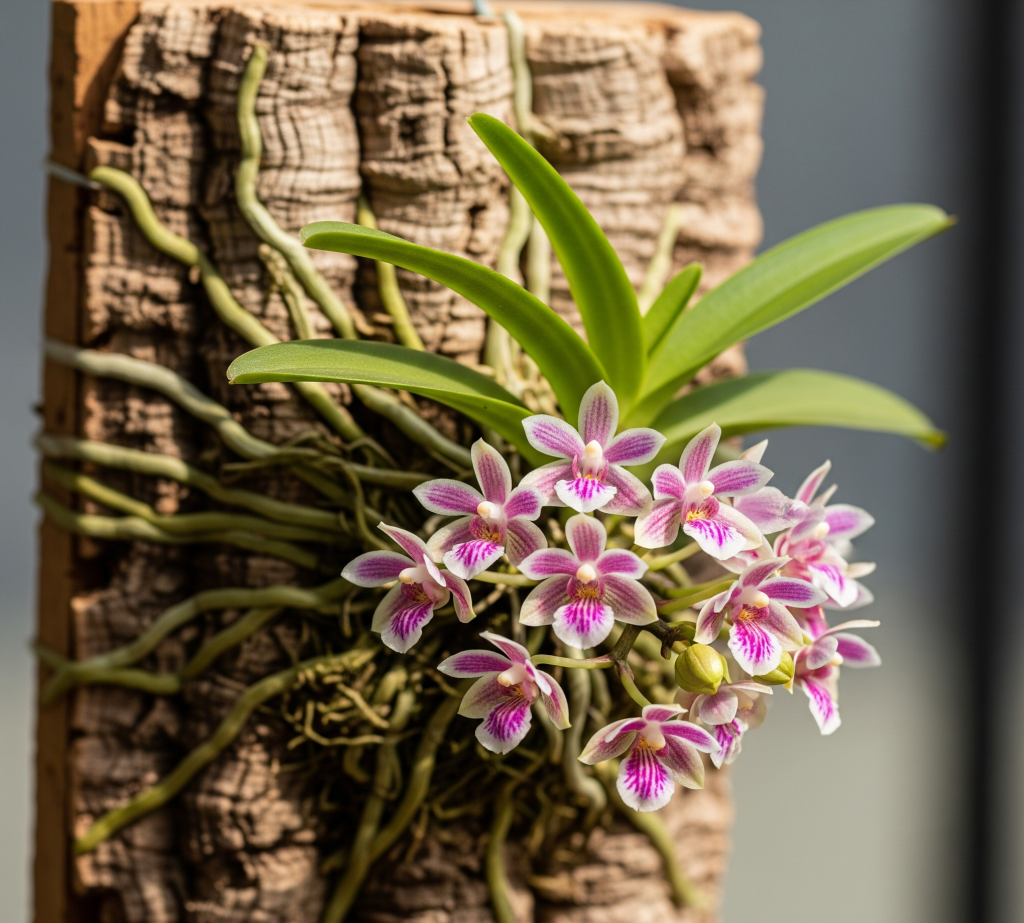
- Mounting for a Natural Look: For a truly advanced approach, mount your orchids! This mimics their natural growth habit and can be incredibly rewarding. Use cork bark, driftwood, or tree fern plaques, securing the plant with fishing line or floral wire and packing sphagnum moss around the roots initially to provide moisture and support. Mounted plants will need significantly more frequent watering due to the increased air circulation around the roots, which promotes faster drying and may require adjustments in your care routine. Be prepared to monitor the moisture levels closely to ensure your orchids thrive in their new environment.
When was the last time you repotted an orchid, and what signs told you it was time? Have you ever considered mounting one of your orchids?
Encouraging Those Spectacular Blooms
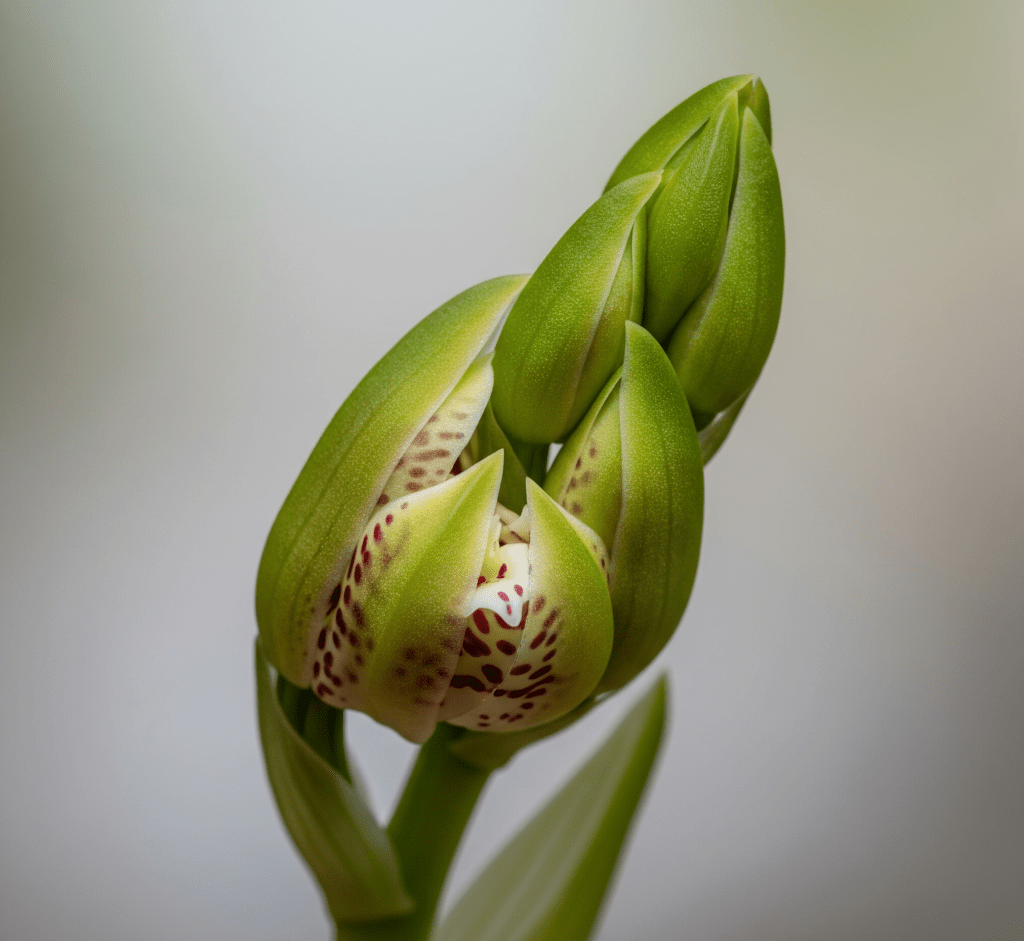
The ultimate reward for advanced orchid care is often a profusion of flowers.
- Light is Paramount: Orchids need ample bright, indirect light to bloom successfully and flourish throughout their life cycles. An east-facing window is often ideal for achieving the best light conditions, as the morning sun provides gentle brightness without the harshness of the afternoon rays. During darker months, a grow light can be incredibly beneficial to supplement natural light and help maintain optimal growth. Furthermore, healthy green leaves indicate good light levels; reddish tinges on leaves can mean the plant is receiving too much light exposure, which can be harmful, while dark green leaves can often indicate that the plant is not receiving enough light, leading to poor growth and fewer blooms. Therefore, ensuring proper light levels is crucial for the health and vitality of your orchids.
- Temperature Fluctuations: Many orchids, especially the popular Phalaenopsis, benefit from a slight drop in nighttime temperatures (10-15 degrees Fahrenheit cooler than daytime, around 60-65°F / 15-18°C at night) to initiate a bloom spike. This often occurs naturally in autumn, which is a critical period when many growers focus on replicating these conditions to encourage blooming. A consistent nighttime temperature that stays within this range can also promote healthy growth, as it mimics their natural habitat where temperature variations are common.
- Don’t Cut Green Spikes (Phalaenopsis): If your Phalaenopsis flower spike remains green after the blooms fade, do not cut it! It may rebloom from a node further down the spike, providing you with the joy of seeing more blossoms over time. Only cut if the spike turns completely yellow or brown, as this indicates that the spike is no longer healthy and will not produce new flowers. Being patient with the green spike can lead to a more vibrant bloom cycle and is essential for optimal growth.
What kind of light do your orchids receive, and have you ever adjusted their placement to encourage more blooms?
Taking your orchid care to the next level is a rewarding journey. By understanding their unique epiphytic nature and fine-tuning your watering, fertilization, and environmental conditions, you’ll be well on your way to enjoying healthier plants and more spectacular blooms.
What’s one advanced care tip you’ve successfully implemented with your orchids? Share your experiences in the comments below!

Leave a comment